

Hey Canucks fans! So, you’ve got a young fan in the house who’s ready to hit the ice, inspired by watching Elias Pettersson snipe corners or Quinn Hughes quarterback the power play from the blueline. That’s awesome! Getting your kids into hockey is one of the greatest gifts you can give them. But before they lace up their skates and dream of lifting the Stanley Cup like their heroes, there’s one absolutely critical play we need to run: gear safety.
Just like Coach Rick Tocchet prepares a game plan, you need a strategy to ensure your little player is protected. This isn’t about being overly cautious; it’s about making sure the game stays fun and safe. A proper fit and condition check is as important as any drill. Think of it as your pre-game routine.
This checklist will walk you through everything you need to know to gear up your kid safely, from helmet to skates. We’ll cover fit, function, and maintenance, so you can have peace of mind every time they step on the ice. Let’s get your future Canucks star ready to play the right way.
What You'll Need
Before we jump into the step-by-step, let’s make sure you have your "equipment management" line set. You don’t need to be General Manager Patrik Allvin to do this, but a little organization goes a long way.
The Gear: Obviously, you’ll need the full set of hockey equipment. If you’re just starting out, check out our main guide on choosing the right gear for recommendations on brands and types for beginners. Your Kid: Have them wear the base layer they’ll use for hockey (like moisture-wicking underwear and socks). This ensures a proper fit. A Pen & Paper or Your Phone: To note down any adjustments needed, sizes that are getting tight, or gear that needs replacing. A Little Time and Patience: This isn’t a rush job before practice. Set aside 30 minutes when everyone is relaxed. Turn on some classic Canucks highlights for inspiration!
Your Step-by-Step Gear Safety Check
Follow these steps in order, just like a player getting dressed in the locker room at Rogers Arena.
1. The Foundation: Skates & Helmet
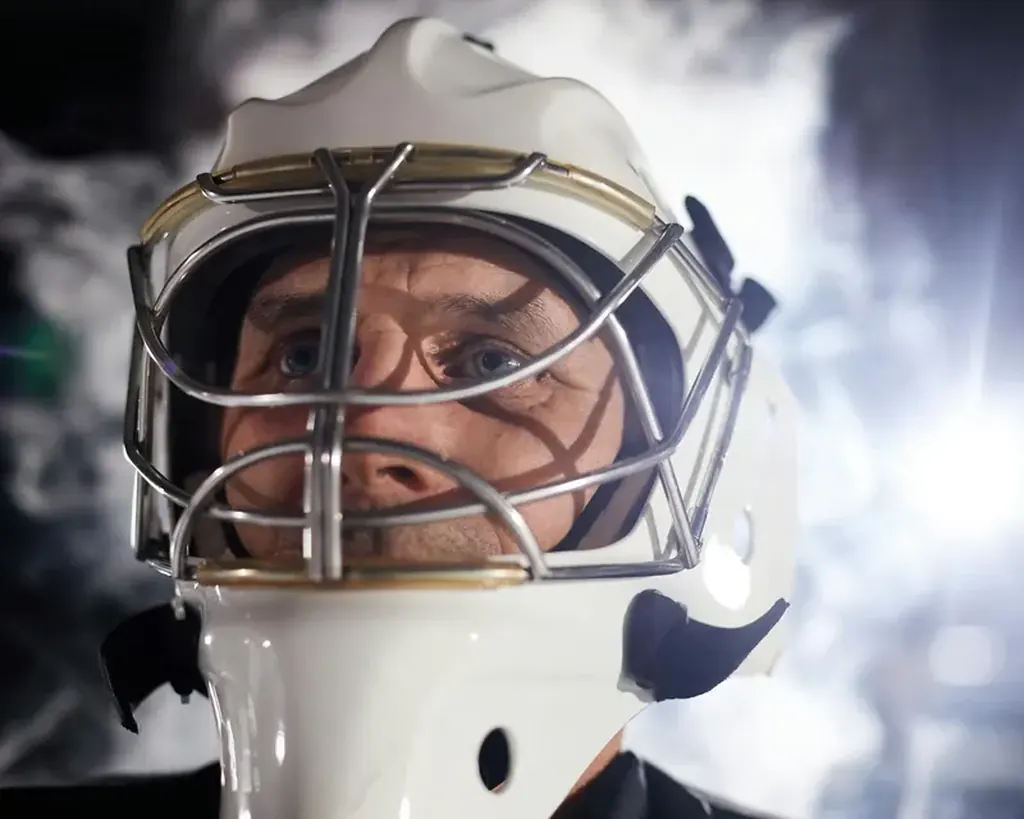
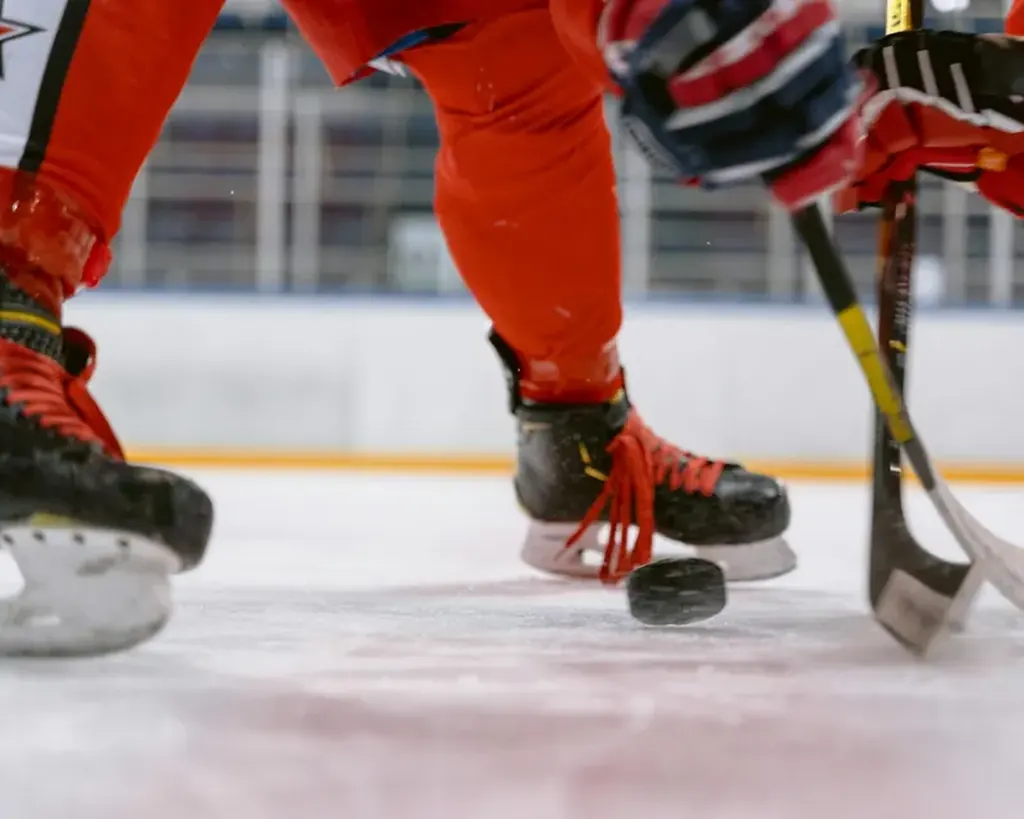
These are the two most important pieces. Get these wrong, and nothing else matters.Skates: The fit is paramount. The foot should be snug, with the toes gently brushing the toe cap when standing straight. When knees are bent in a hockey stance, the toes should pull back slightly. NO "room to grow" in the toes while standing. This leads to blisters, poor skating, and a higher risk of injury. Check for deep cuts in the boot or rust on the runners. Laces should be replaced if frayed. Helmet with Cage: This is non-negotiable. The helmet must sit level on the head, about one finger-width above the eyebrows. The side straps should form a "V" just under the ears. Shake your head gently "no" and "yes" – the helmet should move with the head, not shift independently. The cage must be firmly attached with no cracks or bends. Pro Tip: Helmets have an expiration date (usually stamped inside). If it’s past date or has sustained a major impact, replace it immediately, even if it looks fine.
2. Upper Body Protection: Shoulders, Elbows & Chest
This is your kid’s armor against pucks, sticks, and boards.Shoulder Pads: They should cover the collarbone, shoulders, and the top of the arms without restricting arm movement. The chest protector should cover the sternum and rib cage down to the belly button. Have your kid mimic a shooting motion to check for mobility. Elbow Pads: The hard cap must sit directly on the point of the elbow. Secure the straps so the pad doesn’t slide down during movement. Check the foam for excessive compression or wear.
3. Lower Body Protection: Pants, Jock/Jill & Knees
This zone takes a lot of falls and blocks shots.Protective Cup (Jock or Jill): This is essential for all players. The protective cup should be part of a supportive undergarment and fit securely. It’s a simple piece that prevents serious injury. Hockey Pants (Breezers): They should cover the top of the thigh pads and overlap with the shin guards. The kidney protection in the back should sit securely. The belt should be snug but comfortable. Ensure all the internal padding is intact and hasn’t shifted or flattened. Shin Guards: The hard cap must cover the knee completely when the knee is bent. The guard should extend down to the top of the skate tongue, protecting the shin. Straps should keep it firmly in place without cutting off circulation.
4. The Tools: Gloves, Stick & Neck Guard
The finishing touches for safety and performance.Gloves: They should allow for finger movement and a full grip on the stick. Check for holes in the palms or broken stitching. Wet, worn-out palms can lead to poor stick control. Neck Guard (Cut-Resistant): While not always mandatory in all leagues, a cut-resistant neck guard is a critical safety item we strongly recommend. It should fit snugly but comfortably around the neck. Hockey Stick: It’s a piece of equipment too! The stick should be the right length (generally between the chin and nose when in skates). Check for major cracks or splinters, especially in the blade or shaft. A compromised stick can snap unexpectedly.
5. The Final Dress Rehearsal
Now, have your kid put on everything. This is the full systems check.Have them skate around (on floor guards or a safe surface), squat, swing their arms, and mimic hockey movements. Watch for any gear shifting, pinching, or exposing skin. Can they move freely? Can they see properly with the helmet and cage on? Listen to them! If they complain something is "poking" them or is too tight, don’t ignore it. Investigate and adjust.
Pro Tips & Common Mistakes to Avoid
Mistake: Buying Gear "They'll Grow Into." Pro Tip: This only works for jerseys you’re framing for display. For protective gear, a proper fit now is what keeps them safe. Ill-fitting gear is dangerous. Buy used or swap/sell programs are great for growing kids. Mistake: Ignoring the Smell & Moisture. Pro Tip: Gear must be dried after every single use. Hang it on a dedicated rack in a well-ventilated area (not stuffed in a bag in the trunk!). This prevents bacteria growth, extends the life of the materials, and, let's be honest, makes your car more pleasant. A gear checklist for a trip to a tournament or fantasy camp is different—for that, see our fantasy camp gear packing list. Mistake: Forgetting Annual Re-Certification. Pro Tip: Helmets and face cages have safety certification stickers (HECC, CSA, etc.). Before each season, check that these certifications are still valid. Leagues and tournaments will check this. Mistake: Overlooking the Mouthguard. Pro Tip: A custom-fit mouthguard from a dentist is best, but a quality boil-and-bite model is essential. It protects teeth, reduces concussion risk, and is almost always a league requirement. Make sure your kid wears it! Mistake: Not Involving Your Kid. Pro Tip: Teach them why each piece is important. "This helmet protects your head like it protects Thatcher Demko." "These shin pads block shots like J.T. Miller blocks them on the penalty kill." It builds respect for the equipment and the game.
Your Quick Game-Day Safety Checklist
Run through this bullet list before heading to the rink:
- Helmet & Cage: Secure, no cracks, certification current, fits snugly.
- Skates: Snug fit, toes brush cap when standing, laces intact, blades sharp.
- Shoulder Pads: Covers collarbone and sternum, allows full arm movement.
- Elbow Pads: Cap centered on elbow, straps secure.
- Gloves: No holes in palms, good finger mobility.
- Neck Guard: Snug, cut-resistant, in good condition.
- Protective Cup (Jill/Jock): Worn and secure.
- Hockey Pants: Overlap shin guards, kidney pad in place.
- Shin Guards: Cover knee completely, strap securely, meet skate tongue.
- Mouthguard: Present, clean, and properly fitted.
- Stick: Correct length, no major cracks or splinters.
- Full Gear Test: Kid can move, skate, and see comfortably in full equipment.
P.S. For more deep dives into equipment and gear, keep it locked to Canucks Chronicle. And for the real stat-heads, sites like Canucks Army offer great independent analysis on how the right gear can even impact performance metrics!*
Reader Comments (0)